Enable Additional Attributes in Azure for Web Pages NEW
Enable Additional Attributes in Azure in Web Pages
After completing the Single Sign On (SSO) setup, if you would like the bot to have access to additional attributes in the web widget you will need to enable additional configuration in Azure. Please follow the steps outlined below to do this:
-
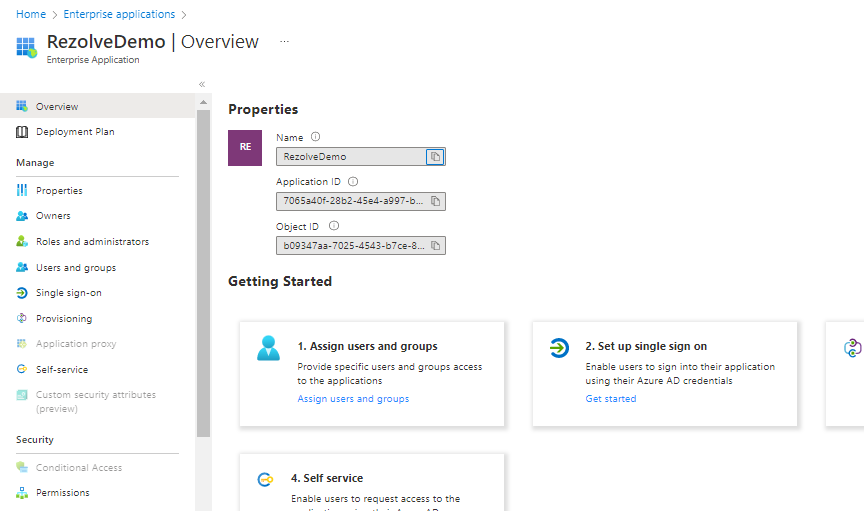
Open Azure Portal and select Azure Active Directory
-
Go to Enterprise applications
-
Search for your RezolveHelpdeskBot app (or whatever you called it) you created for SSO setup and select it.
-
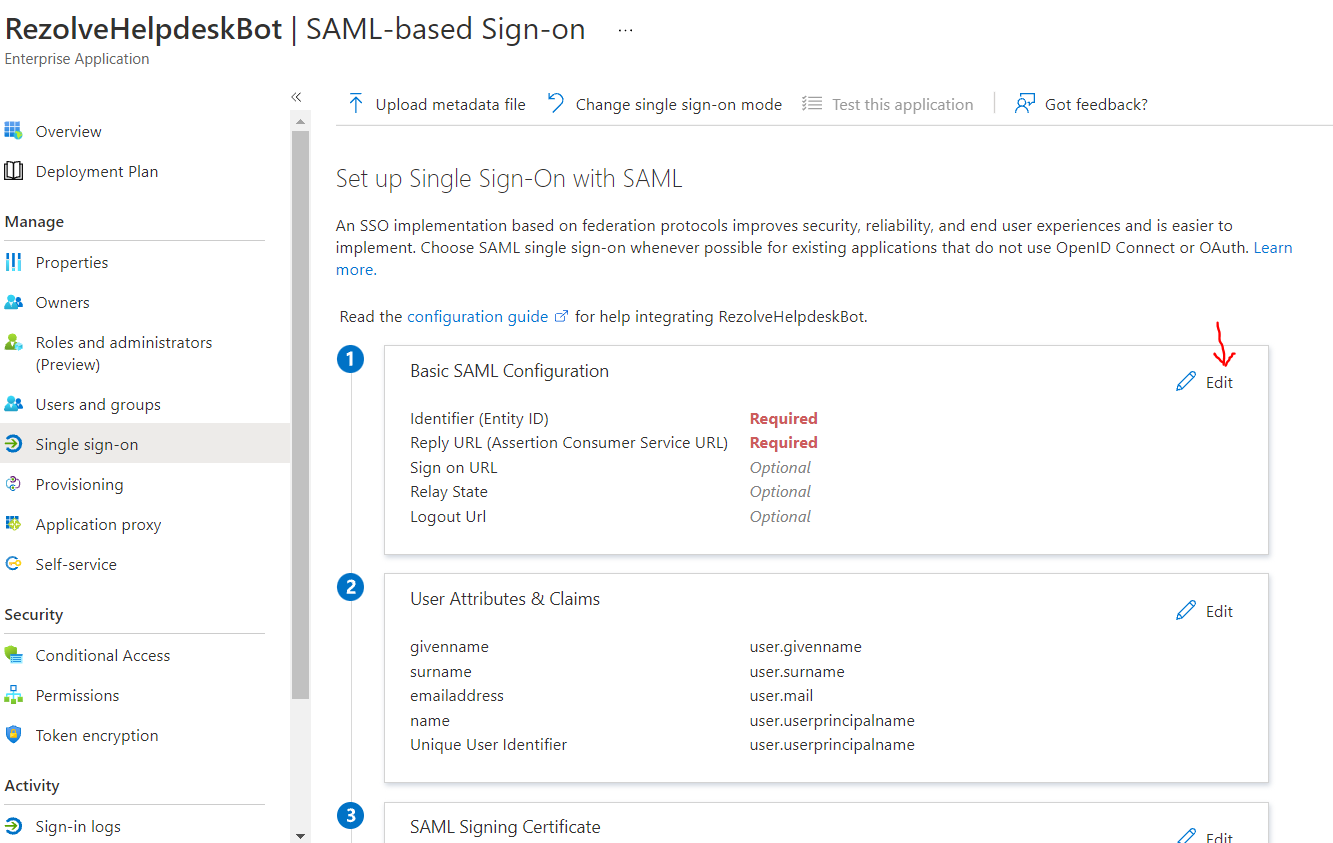
Click Single sign-on
-
Look for User Attributes & Claims and select Edit
-
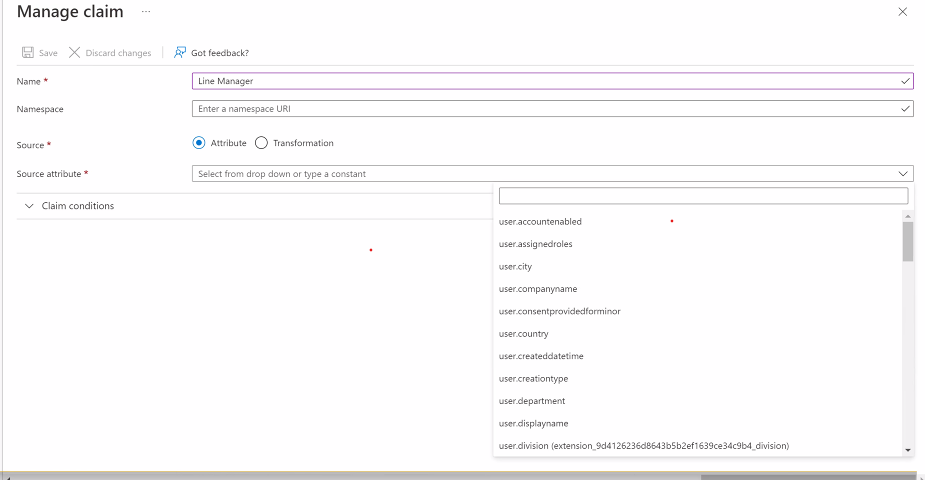
Select Add New
-
On the Manage user claims page, give the attribute a display name (there can be no spaces)
-
Find and select the attribute from the Source attribute dropdown Hint: If you do not know the attribute is called in Azure, look up someone’s account and see what the field is called.
-
Click Save
-
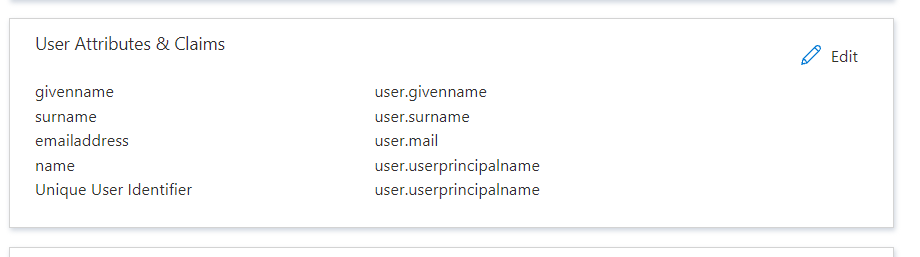
Keep adding attribute accesses until done
-
Take a screenshot of all the attributes the RezolveHelpdeskBot app now has access to from the Single sign-on page